Showing posts with label Valentine's Day. Show all posts

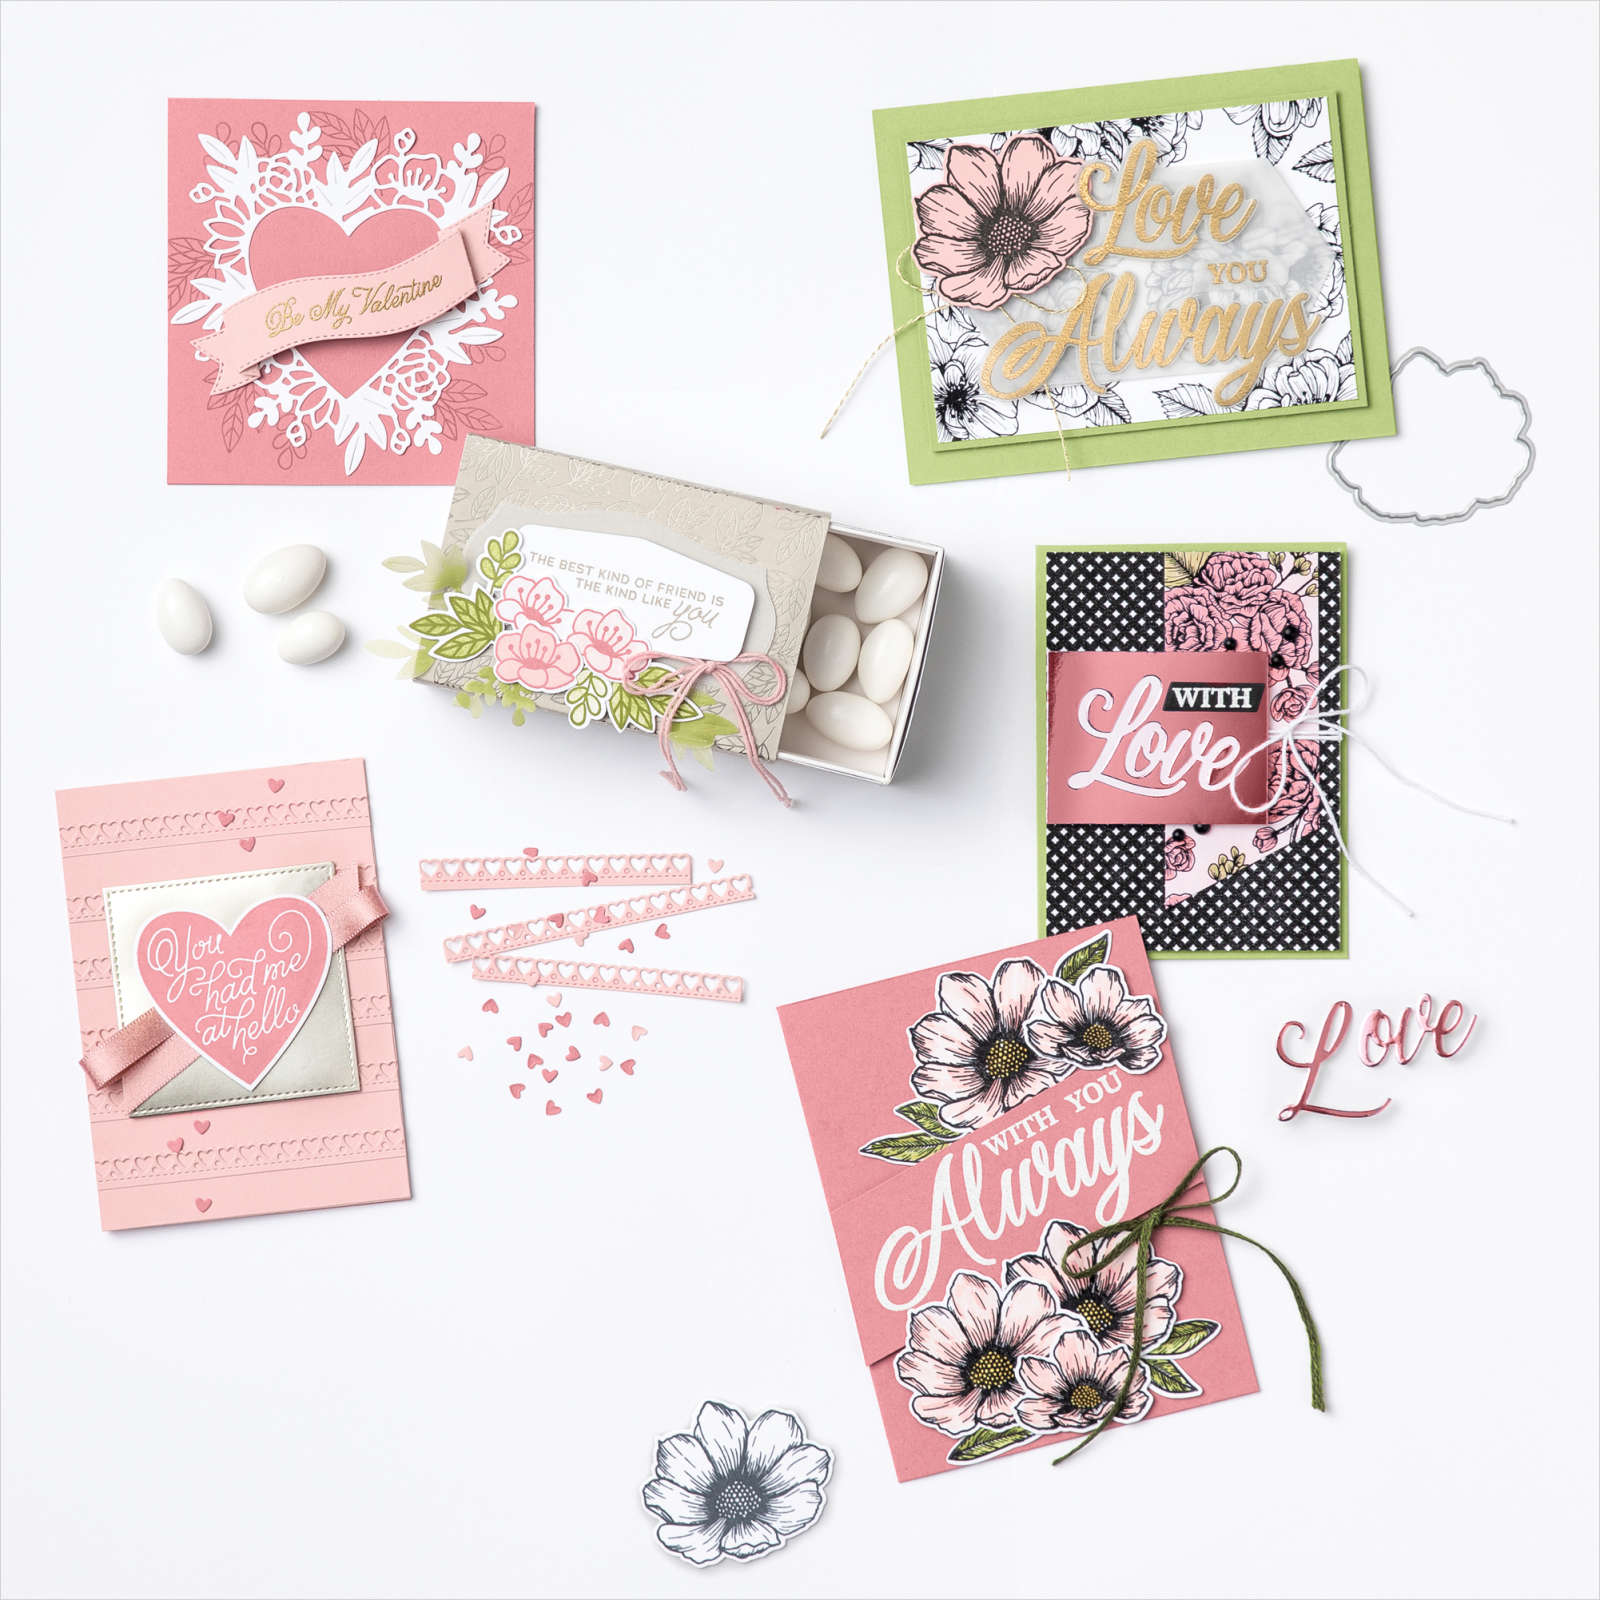
Love You Always

Love You Always Stampin' Up! Inspriation 2021
Love You Always Suite

Love is always in season and the Love You Always suite is always in style. It's perfect for when you are sharing a Valentine with your sweetheart, creating treats for the kids, or sending wedding or anniversary well wishes.

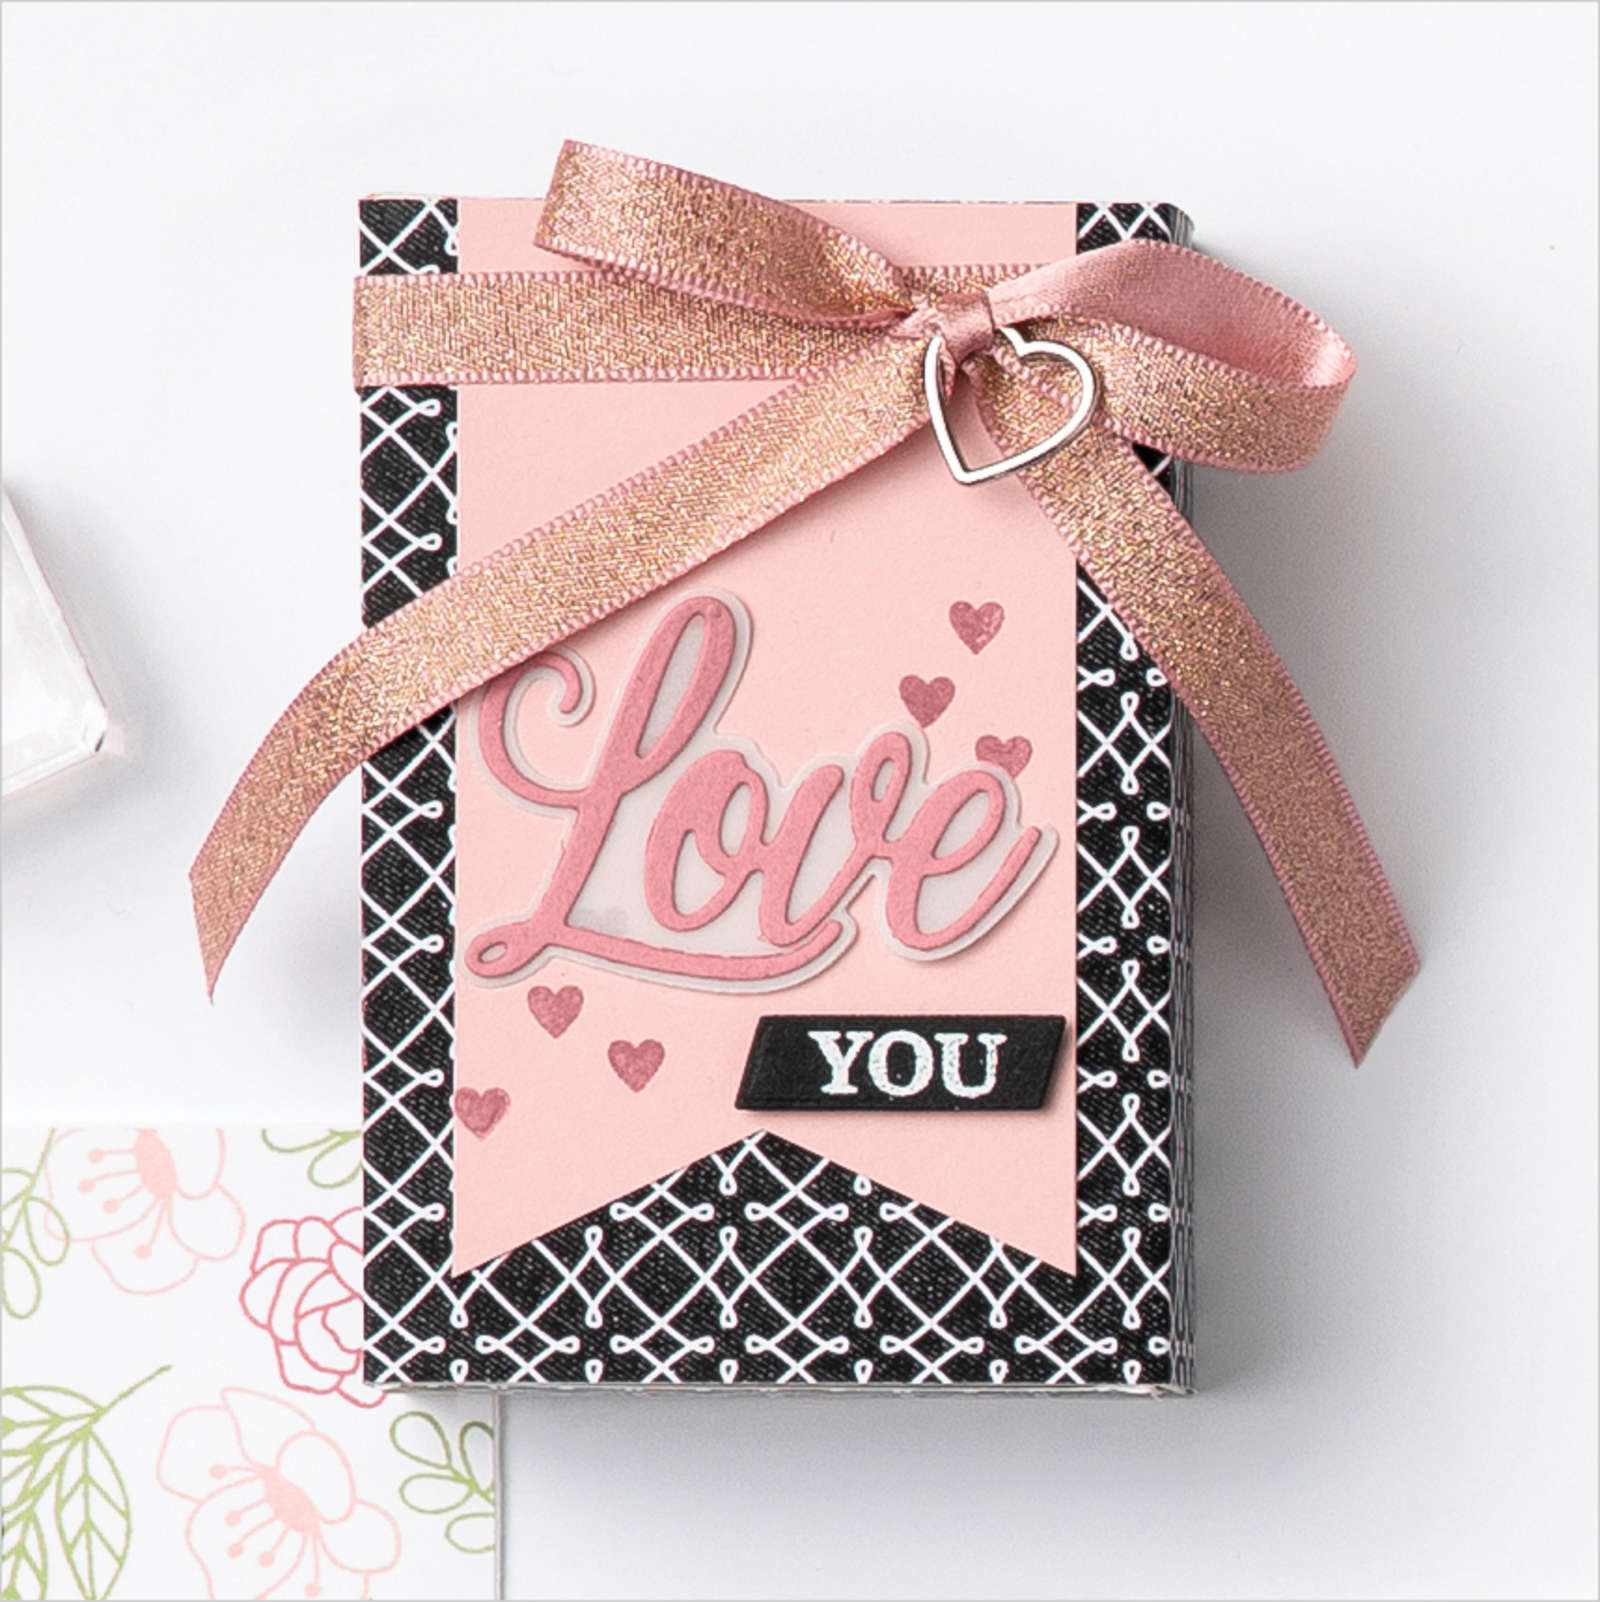
This tutorial creates an beautifully detailed card perfect for Valentine's Day or an anniversary. The subtle details of pattern, shimmer, and texture combine to make a special card that you need to create and see in person to truly appreciate!

--------------------------------------------------

Always in My Heart Card


Join my Email Newsletter List and receive my tutorials by email. With each mailing you will receive a picture of the finished project, a supply list, card layout, and a step-by-step tutorial.

SUPPLIES: Always in My Heart Card
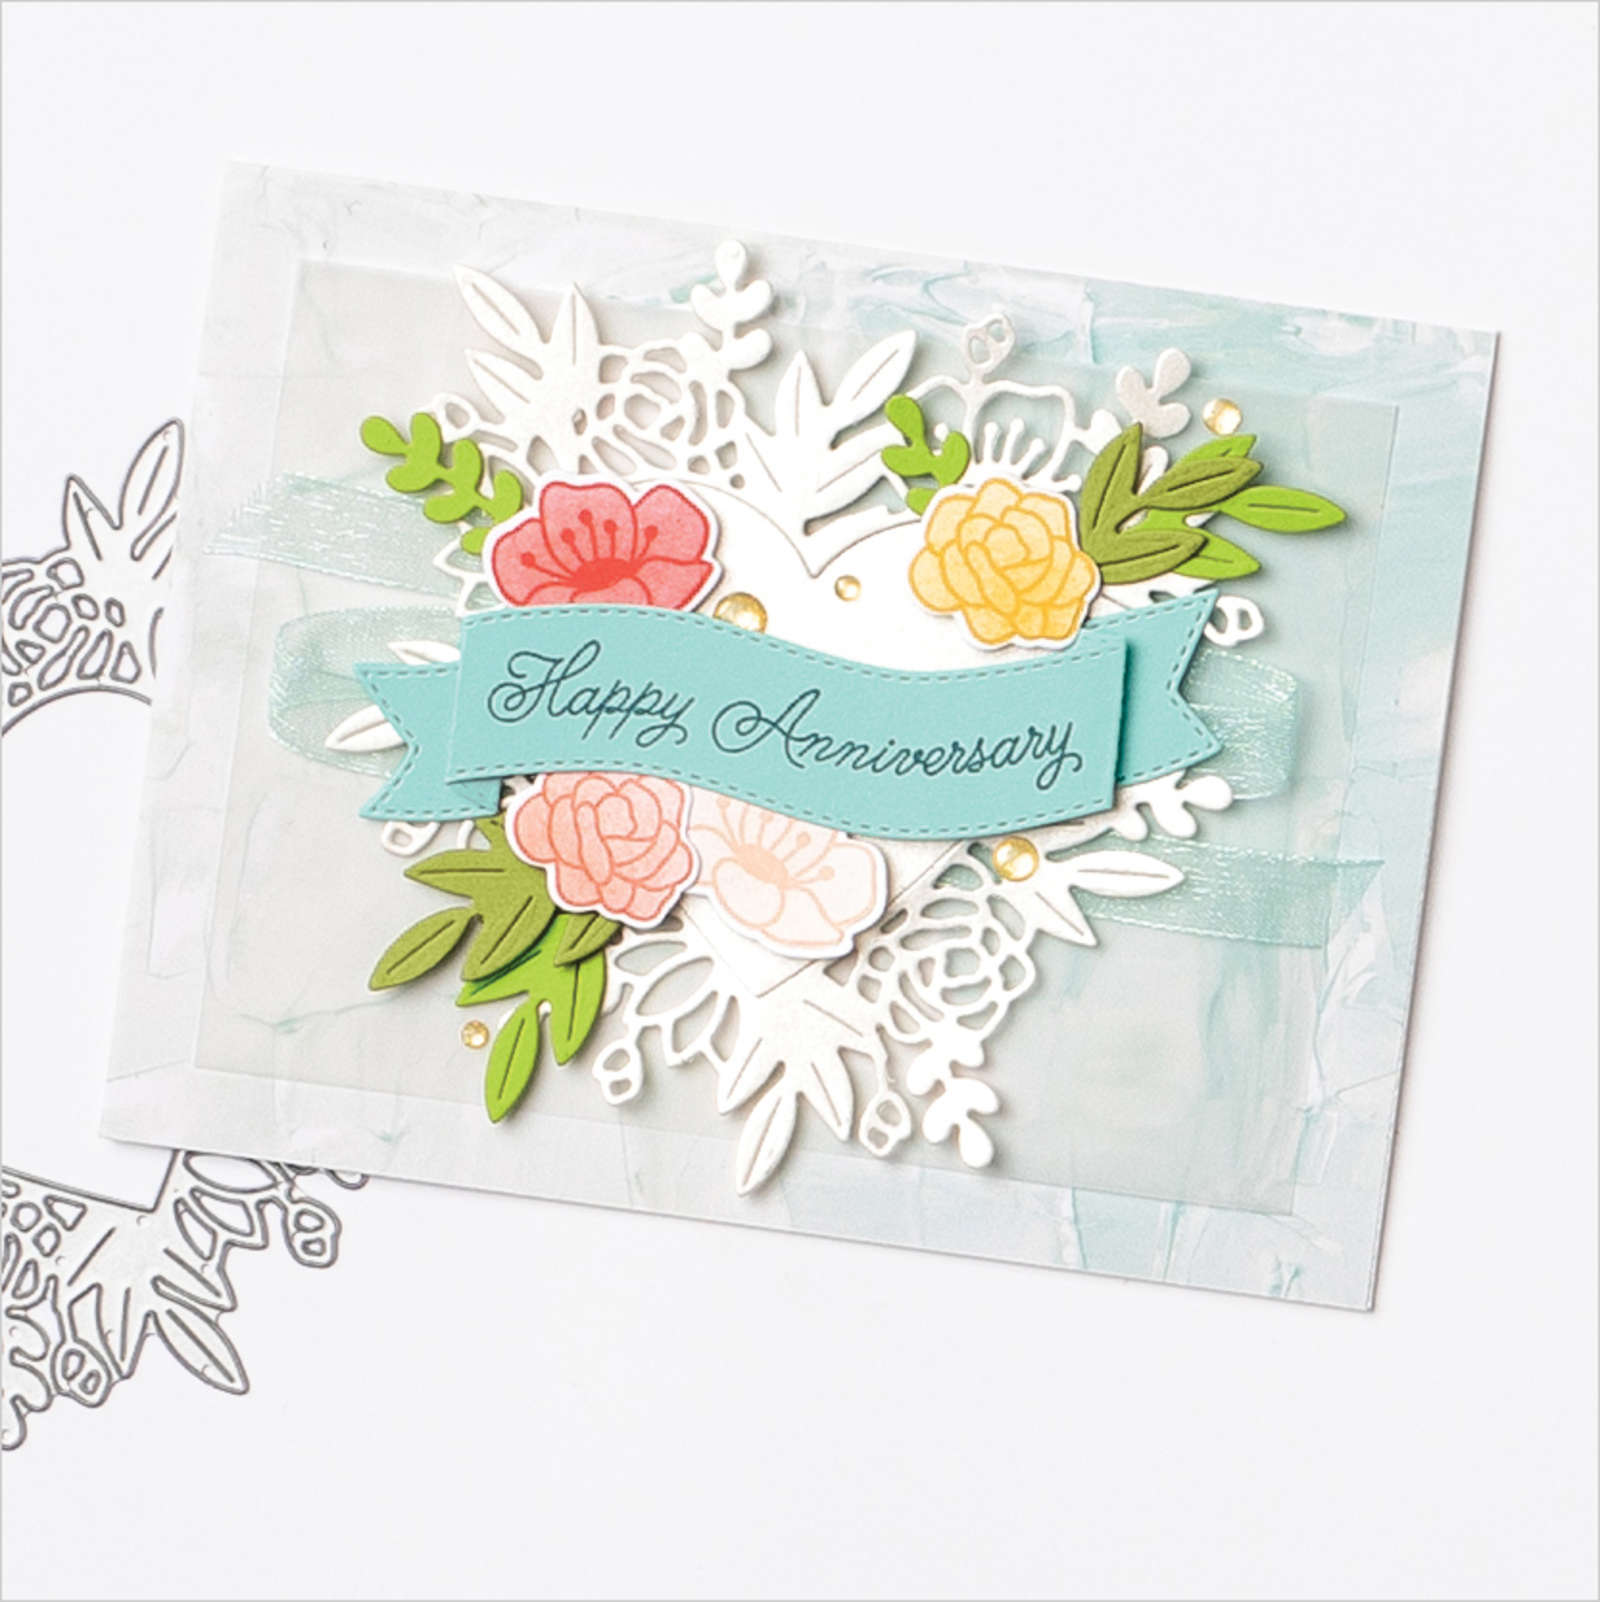
BUNDLE
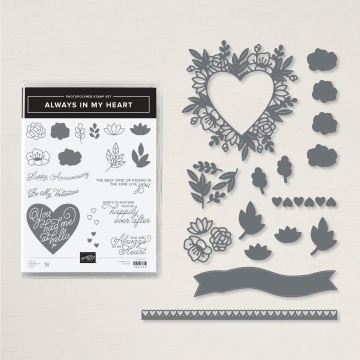
Always in My Heart Bundle (#156194)
Always In My Heart Photopolymer stamp set (#154337)
Floral Hearts Dies (#154306)

PAPER
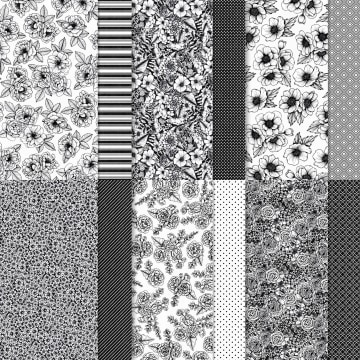
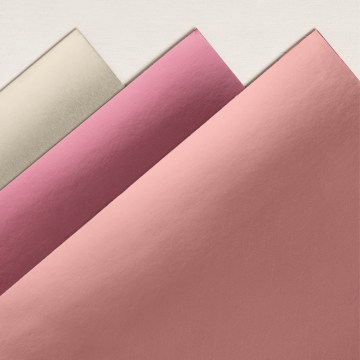
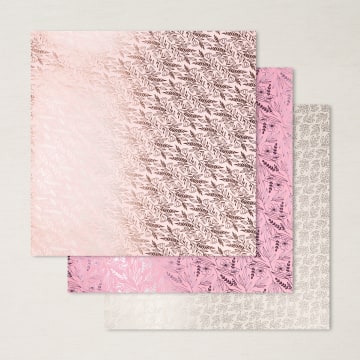
Old Olive (#100702), Basic White (#159276), Pool Party (#122924), Granny Apple Green (#146990), Vellum Cardstock (#101856), Pearlescent Specialty Paper (#154291), Fine Art Floral Designer Series Paper (#154558)

INK
Poppy Parade (#147050), Calypso Coral (#147101), Petal Pink (#147108), Pretty Peacock (#150083), Bumblebee (#153116)

TOOLS
Floral Heart Dies (#154306)

ADHESIVES
Stampin’ Dimensionals (#104430 ), Stampin' SEAL (#152813), Mini Glue Dots (#103683)

EMBELLISHMENTS
Gold Glitter Enamel Dots (#152155), Pool Party 3/8" (1 Cm) Sheer Ribbon (#152462)

TIP: When adding Vellum Cardstock to projects, place adhesive where it will be covered by other layers of cardstock, ribbon, or embellishments, so that you don't see the adhesive through the translucent vellum paper.

Coordinating Products
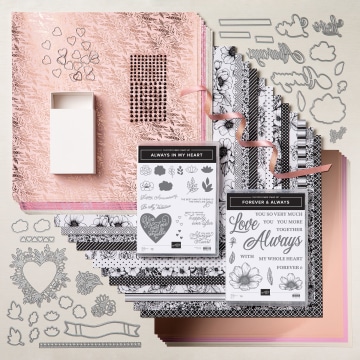
January-June Mini Catalog - Love You Always Suite
Love You Always Suite

VIEW THE SUITE ONLINE

DOWNLOAD OUR LATEST CATALOG

January - June 2021 Catalog Stampin' Up!


Everyone needs a break from the stresses of life.
My classes offer an escape from the world with a little crafty outlet.
You will leave refreshed, with a beautiful project you have made
Stampin' Up! Demonstrator Visit My Blog
Like My Facebook Page
Follow Me on Instagram

...January Ladies Class Projects


Diamond Box by Jessica Winter Artisan Design Team 2015-2016 Member Ladies Class Project MarionCreates.comThis wonderful box was on the Stampin' Up! blog and created by Jessica Winter, Artisan Design Team 2015-2016 member. It is so unique and easy I knew we had to make it in the January Ladies Classes. The instructions, with pictures, for this box are below. You will be using the Gift Bag Punch Board for this project.
January Paper Pumpkin Valentine Treat Pouch Ladies Class Project www.MarionCreates.com
The second project are these Sweet Valentine Pouches made from the January Paper Pumpkin Kit. There are about 5 colors to choose from, I chose Tip Top Taupe. They are so quick & easy.
Supplies Needed:
  • Gift Bag Punch Board
  • 8.5"x3.25" Cardstock for the Bottom 
    • Score the long edge at 3/4"
  • 3-9/16"x3-9/16" Designer Series Paper for the Top
    • You will score this piece at 3/4" all the way around as shown in the picture
  • Tear & Tape
    • Bow Builder Punch, Sweetheart Punch, Itty Bitty Punch Pack
    • Embellishments as Desired
    All score lines have been marked with a marker for the purpose of this tutorial, so the lines can be seen easier. You will only score, don't use a marker for your box.

    First you want to insert you 8.5"x3.25" piece of cardstock all the way into the Gift Bag Punch Board, making sure the left edge is aligned with the start line, punch, then score your "Martini Glass" and the top horizontal line. You will have to scoot your cardstock to the right to make the horizontal line go all the way to the left edge of your cardstock. With a pencil make a small tick mark at the lower edge of the cardstock on the "S" line.


    Diamond Box by Jessica Winter Artisan Design Team 2015-2016 Member Ladies Class Project MarionCreates.comDiamond Box by Jessica Winter Artisan Design Team 2015-2016 Member Ladies Class Project MarionCreates.com

    Move your cardstock to the left, lining up the little tick mark with the start line. Repeat the step above, only this time you won't need to move your cardstock to the right to complete the horizontal line, just score the horizontal line along with making your "Martini Glass".

    When you get done, your box bottom will be score and punched as show in the second picture below. The horizontal line at the bottom of the "Martini Glasses" is 3/4", score that using a paper trimmer fitted with a scoring blade or the Simply Scored Plate.

    Diamond Box by Jessica Winter Artisan Design Team 2015-2016 Member Ladies Class Project MarionCreates.com
    Diamond Box by Jessica Winter Artisan Design Team 2015-2016 Member Ladies Class Project MarionCreates.com
    The "flaps" at the top of the cardstock strip are actually the box bottom flaps. To score you will fold your flaps with a "mountain" fold, the 3/4" top as a "valley" fold. The "Martini Glass" will be a "mountain" fold, gently fold the diagonal lines and the "stem" of the "Martini Glass" will just follow.  Your instinct will be to fold the last 1/4" flap that holds the box together, don't. if you do than your fourth side will not be a flat fourth size but rather a weird 4th & 5th side and your lid won't fit properly. Ask me how I know.
    Either before or after folding on all the lines, cut a couple of notches on the last 1/4", you can also add Tear & Tape.
    Diamond Box by Jessica Winter Artisan Design Team 2015-2016 Member Ladies Class Project MarionCreates.comDiamond Box by Jessica Winter Artisan Design Team 2015-2016 Member Ladies Class Project MarionCreates.com
    Remove the protective paper from the Tear & Tape and adhere the tab on the inside of the box, lining up the points and creating a new "Martini Glass".
    Diamond Box by Jessica Winter Artisan Design Team 2015-2016 Member Ladies Class Project MarionCreates.com
    To put assemble the lid, score all four sides at 3/4" either with a Paper Trimmer fitted with a scoring blade or with the Simply Scored Plate. Cut notches on each of the four "squares" created from scoring. Fold on all the score lines and adhere the corners on the Inside of the rectangles, as to hide the tabs.
    Diamond Box by Jessica Winter Artisan Design Team 2015-2016 Member Ladies Class Project MarionCreates.com


    Diamond Box by Jessica Winter Artisan Design Team 2015-2016 Member Ladies Class Project MarionCreates.com
    I hope that was helpful. Comment below if you have an questions.


    ....Wreath Options


    Do you remember this wreath from the 2015 Holiday Catalog?

    The included decorations were for the Fall & Winter holidays.

    But don't let that limit you....


    Here it is hanging on my Studio door. All I did was add a few Glimmer Paper hearts using the Sweetheart Punch (133786) and now it is ready for Valentine's Day!

    What are some things you can think of to decorate it for Easter, Spring or Mother's Day?


    I'm thinking of the Cups & Kettle Framelit Dies (140624) for Mother's Day. What do you think?


    Date Change - Ladies Classes

    Every once in a while I have to move the date of Ladies Afternoon & Ladies Nite Out. This month is one of those months. Typically they are the 3rd Tuesday of every month, unless something comes up and I need to move it, which doesn't happen very often.

    January's Ladies Classes will be on the 26th.
     
    I hope to see you there. You can RSVP anytime by clicking on RSVP under the event on my calendar here.

    My plan for this month's projects is Valentine. There are so many great ideas out there, the hard part is always deciding on just two.


    I look forward to seeing you!


    Duckie & the Grackle - Happy Valentine's Day


    Last Saturday I held a card making event at Duckie and the Grackle Gallery. They asked if I could design and run a Customer Appreciation event where anyone who came could make a special Valentine Card for their sweetie.

    What is Duckie and the Grackle Gallery. Well, Cheri McBride (Duckie) is an artist, she paints the most beautiful birds. Her husband, Glenn McBride (the Grackle) is an artist also. He writes poetry and composes songs. Together they run their own Gallery over by The Grape Taste in Lake Jackson. If you ever get the chance, you really do need to go by and say hi. They love having visitors and will sit and chat it up with you if you want to sit and stay a spell.

    This is the card everyone got to make.


    The bird is a seagull, named Dominique. She is one of their personality birds, who doesn't mind getting dressed up for the holidays.

    We had crafters and non-crafters alike and even a few husbands come and make their own cards. I really enjoy watching people who aren't sure about their creativity really get inspired and encouraged because they had made something they never thought they could do. That's what I enjoy the most about what I do, helping others tap into their creative side, the side that is either hidden or they just never knew they had.

    Just remember, you are creative, you just might need help discovering it!

    Come back tomorrow when I show you the swaps I made for the Stampin' Up! Regional event in Dallas.

    Thanks for stopping by.


    January Hostess Club Projects

    I know I'm a little late with this one but I hope you enjoy it anyway.We don't always make two projects but I wanted to do something special for our first month.


    The first project we did was the cute heart pocket made with the Petal Cone Die. Instead of using it as a "box", we flattened it to make it more of a heart shape. The little girl is from the Greeting Card Kids stamp set. You can get it in Clear Mount, Wood Mount or My Digital Studio Download.

    The card has a heart "window" cutout and we strung another heart inside it to make it suspended and spin. We used the Hearts Framelits and the Hearts a Flutter Framelits.


    Come back tomorrow when I show you the project we made at Duckie & the Grackle Gallery.

    January Ladies Nite Out Rescheduled


    Due to illnesses, I am rescheduling Ladies Nite Out to Monday, January 28th at 6:30pm. If you missed the class on the 21st and are able to come to the one on the 28th, just send me an email by Saturday, January 26th to let me know you want to come, and I'll make up a kit for you. If you come next week, these are the projects you will make.

    This month we made several Valentine themed items. A card a cute pouch and a sucker.


    On the card we used the following items:
    • 121884 Rose Red Seam Binding
    • 129312 Print Poetry DSP Stack
    • 127822 Cannery Set Framelits Dies
    • 117193 Small Heart Punch
    • 121790 Red Glimmer Paper
    • 119859 Extra-Large Oval Punch
    • 120907 Decorative Label Punch
    • 126966 Cherry Cobbler Classic Stampin' Pad
    • Black Stazon
    • 101930 Iridescent Ice Embossing Powder
    • Page 140 Delightful  Dozen Stamp Set
    • Crumb Cake Cardstock
    • Pretty In Pink Cardstock
    • Whisper White Cardstock
    You can't see it in the picture, but we use the iridescent Ice Embossing Powder on the Be My Valentine stamp. Don't you just love how the hearts seem to be spilling out of the jar right to the sentiment?

    For the cute pouch we used the following items:
    • 123131 Petite Pocket Bigz XL Die
    • 126922 Sunshine & Sprinkles DSP
    • 130159 Hearts a Flutter Framelit Dies
    • Page 133 Fabulous Phrases Stamp Set
    • 126966 Cherry Cobbler Classic Stampin' Pad
    • 129292 Marina Mist Striped Organdy Ribbon
    • Real Red Cardstock
    • Pretty In Pink Cardstock
    When closed, this Petite Pocket is a great little envelope.

    For the sucker we used the following items:
    • 130159 Hearts a Flutter Framelit Dies
    • 119883 Full Heart Punch
    • 129404 7/8: Scallop Circle Punch
    • 117193 Small Heart Punch
    • Real Red Cardstock
    • Pretty In Pink Cardstock
    • Silver Glimmer Paper
    I purchased small hard candy heart shaped suckers and adhered the hearts to it with Extra Sticky Tape. That stuff is great!

    I hope to see you next week.

    Ladies Classes Projects

    These are the projects we made for this month's Ladies Afternoon and Ladies Nite Out Classes.

    First, we made a single 12x12 scrapbook page. I took the inspiration and techniques from Lisa Curcio's project here.

    Here's what we used:
    • Top Note Die
    • Stocking Die
    • Word Window Punch
    • Ruffled Ribbon
    • Apothecary Accents Framelits
    • Oval Framelits coming out in the Spring Mini Catalog January 3rd!
    • Rhinestones
    • Boho Blossoms PUnch


    We then made a wonderfully cute chocolate Valentine's Day card using the Blossom Petals Builder punch. I got the inspiration for that card from here and here. I like taking what I see from several places and making it mine. There are times when I will CASE (Copy And Share Everything) exactly as I see it, but I usually like to put my own spin on what I see.


    It is because of this technique that I knew I had to have the Blossom Petals Builder Punch. And then the Candy Cane Mouse below just gave me another reason.


    We then made a very cute paper candy cane mouse. Ever since I saw this made with felt I thought it could be made with paper. Wouldn't you know, some one else thought the same thing. Here is one of our mice. The oval was cut using the new Ovals Framelits that will be available for purchase January 3rd!


    We had such a great time taking what I had come up with and adding different touches. Thanks to Loretta & Mary for the extra inspiration. If you couldn't make it this month, I hope you can make it next month.